In this post, I’ll take you through the very first things you should do after installing Kali Linux Software center as you prepare to begin your hacking course. After a fresh installation, is notorious for being useless. Before your Kali computer is ready for hacking with kali linux software-center , you’ll almost certainly come into certain kali linux software-center not working that will need to be resolved.
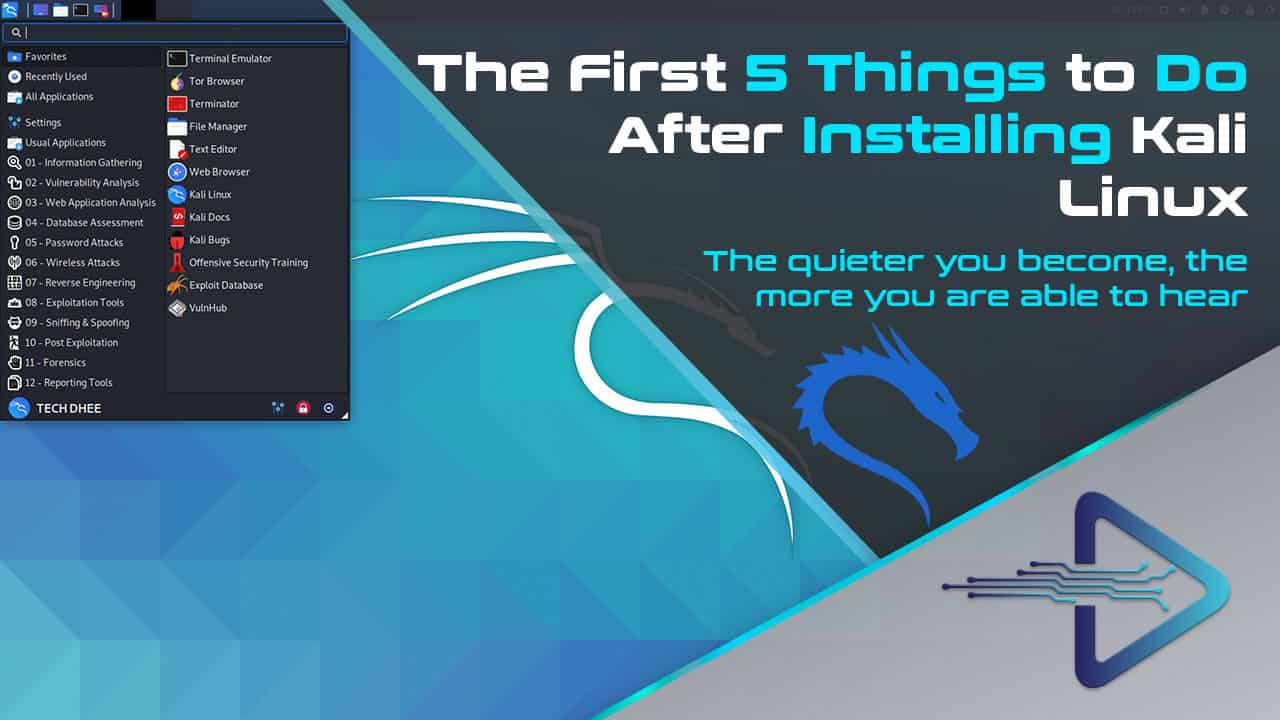
First 20 Things to do After Installing Kali Linux Software center
These are the following things you have to do after Kali Linux Software center
1. Dist-Upgrade, Update, and Upgrade
To avoid app failures and guarantee you have the most up-to-date version of everything essential for your system to function properly synaptic package manager kali linux, you should update and upgrade all of your workstation’s dependencies.
2. Customization: Enhance the look and feel of Kali Linux
It’s a no-brainer on this one. You’ll need to install the gnome-tweaks application, which is a free desktop customization and settings manager for Gnome desktops, to be able to make your workstation appear the way you want it to.
3. FTP Client Filezilla
If you’ve chosen Kali Linux Software center, you’ll probably need to perform some FTP-related chores in the future, and your workstation won’t be complete without an FTP client. Filezilla is my personal favourite, and you can install it with one easy command.
4. Download and install Tor Browser
Now that you’ve obtained a great Linux distribution, it’s time to get a great browser, and Tor Browser is the way to go. It comes with built-in proxy settings to keep your online identity and data confidential.
5. Turn off the screen lock
By the time you get to this point, you’ve probably noticed that the clean Kali installation comes with an auto-lock option, which I find a little bothersome, especially when I’m running Kali on a VM and just leave my computer for a few minutes to fetch some more coffee.
6. Download and install Software Center
The software centre is a graphical user interface (GUI) utility that allows you to download apps from the internet and install them on your computer. You can skip this number if you already have one installed in your Kali Linux Software center, but odds are you won’t.
7. Download and install GDebi Package Manager
Although Kali has dpkg for package management, you may have problems after installing programmes since it does not automatically install dependencies. Although solutions like Snaps and Flatpak are making such difficulties less of a concern, most programmes on the market are not accessible as sandboxed packages, and not all apps can be installed via the software centre. As a result, GDebi must be installed.
8. Download and install Katoolin
Katoolin is an utility that allows you to add, delete, and install Kali Linux repositories as well as Kali Linux utilities.
9. Download and install VLC Media Player
VLC is undoubtedly the greatest media player on the market, with a slew of web articles to back it up. It’s also free.
10. Install Other Important Apps
This entails installing software from your must-have Linux app list. For example, instead of Firefox, you might prefer to use Google Chrome. It’s possible that you’ll need to download the Java Runtime Environment or a text editor like Visual Studio Code. There are a myriad of applications (both free and commercial) to pick from so knock yourself out! That’s all there is to it, fellas! If you haven’t already done so, download Kali Linux’s ISO image by clicking the button below, and don’t forget to tell us about your experience installing and using it in the comments area.
11. Create a root password
The biggest change in Kali Linux 2020 is that root is no longer the default user. Yes, we now have to create a standard user manually when installing Kali Linux 2020.X, or if we use a virtual image, the default user is kali/kali, not root/toor, which means we don’t know the root password and maybe there isn’t one. As a result, setting the root password is our first priority.
12. Your repo file should be updated
The second step is to double-check your sources. Whether or whether the list file has been updated. If not, you’ll need to update it. To check the file, use the cat command, which looks like this: Kali Linux should be updated and upgraded. After upgrading the repository file, the final step is to update and upgrade Kali Linux so that we have the most recent version. Now your Kali Linux updates will begin, and the length of time it takes will be determined by your internet speed.
13. Download and install the Tor Browser
The fourth step is to install the Tor Browser; the Tor Browser is the most crucial item to have if you value your privacy and security, thus you must install it after Kali Linux.
14. Turn off your Lock Screen of Kali Linux Software center
If you’re using Kali Linux for research and plan to spend a lot of time there, you’ll want to turn off the lock screen.
Otherwise, you have to input the password again and again. In the current Kali Linux 2020.1, the default timeout is 10 minutes if you leave the screen for some time. Although we all know that the default desktop environment (DE) in Kali Linux 2020.2 is XFCE, many users still use GNOME DE.
15. Dist-Upgrade and Update/Upgrade
Apt-get is a free utility command-line software for Kali Linux that may be used to install, delete, update, and perform a variety of other tasks. It’s used with the Sudo command to check for dependencies. To execute apt-get update, upgrade, and dist-upgrade all at once, use the preceding code. Make sure you have plenty of room, a good internet connection, and plenty of time.
16. Determine your IP address of Kali Linux Software center
When it comes to hacking, your IP address is something you should constantly be careful about. After you’ve installed Kali, the first thing you should do is run it. This IP address is your system’s unique identity on the network, therefore don’t give it out to anyone. This IP address is also utilised in different aspects of hacking, such as packet listening and connection establishment.
17. Download and install git
On GitHub, a large number of hacking tools are shared by a large number of other developers and hackers.
The git command is used for sharing, copying, and modifying your code. Here, it is used for copying the code onto your kali Linux system.
18. Python of Kali Linux Software center
Python is the most popular hacking language, and most of the tools in Kali Linux are developed in Python.
You must run the python scripts once you have transferred the git project to your Linux machine. You’ll need to install Python on your Kali system to make this work. Install Python on Kali Linux using the code below.
19. Create a user with limited privileges
It’s critical that you don’t provide all of your programmes root access. Some applications and scripts should not be permitted to execute as the root user. You’ll need to add Sudo to the user now because you’ll be using it to run Sudo commands. If you don’t add the user to the Sudo group, you won’t be able to run the Sudo commands such as “sudo apt-get update.” It will not be able to complete the task. Use the following command to add users to the Sudo group.
20. Multiplexer at the end
In Kali Linux, a terminal multiplexer is a must-have tool. If you’re going to hack, you’ll be running a lot of terminal windows, and keeping track of them isn’t simple. A terminal multiplexer may be used to monitor all of those terminals in a single command window. All of those terminals will be loaded into a single terminal window via terminal multiplexers.
Important Points to Consider:
This article’s creator does not advocate for any unlawful activity. All of the activities described in this article, on the YouTube channel, and on the website techdhee.in are solely for educational reasons. It cannot be held liable for your actions if you use and follow this guide for any illegal reason. My goal is to teach or share knowledge with those who do not know how to protect themselves from the Internet and the digital world.
Conclusion
You may redirect the domain name to the main server when the server has been updated, and the temporary server can be removed after a few hours. You can delete the temporary server and remove the temporary server’s IP address from the load balancer if you didn’t alter the domain settings and instead utilised a load balancer. A botched update might have serious consequences for your services. It’s critical to arrange server upgrades ahead of time to avoid losing data.
Check Also :Septic System Home Warranty Coverage
The 16 Top Water Bottling Companies Brands In The World